
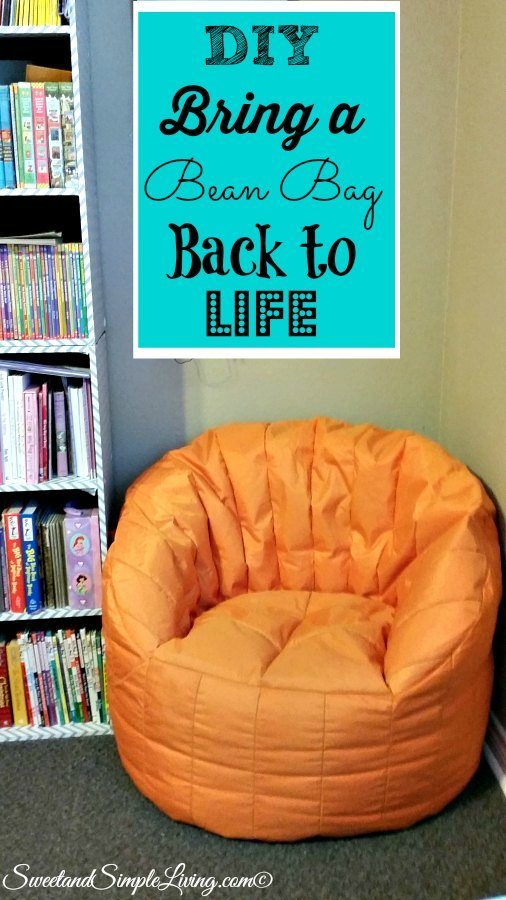
DIY Bring A Bean Bag Back To Life
DIY Bring a Bean Bag Back To Life
Have a flat, deflated bean bag laying around that you don’t know what to do with? Then check out our DIY Bring a Bean Bag Back To Life project we just did! This seems to be a common problem with bean bag chairs and it happened to ours within just a couple of months of getting them! My kids got these really cute, bright orange bean bag chairs for Christmas. We put them in their playroom, next to some shelves with lots of books and their favorite games. But shortly after getting these comfortable little seating spots, they looked HORRIBLE! The filling had really broken down and you sunk straight to the floor when you sat in them. This is what we now had.
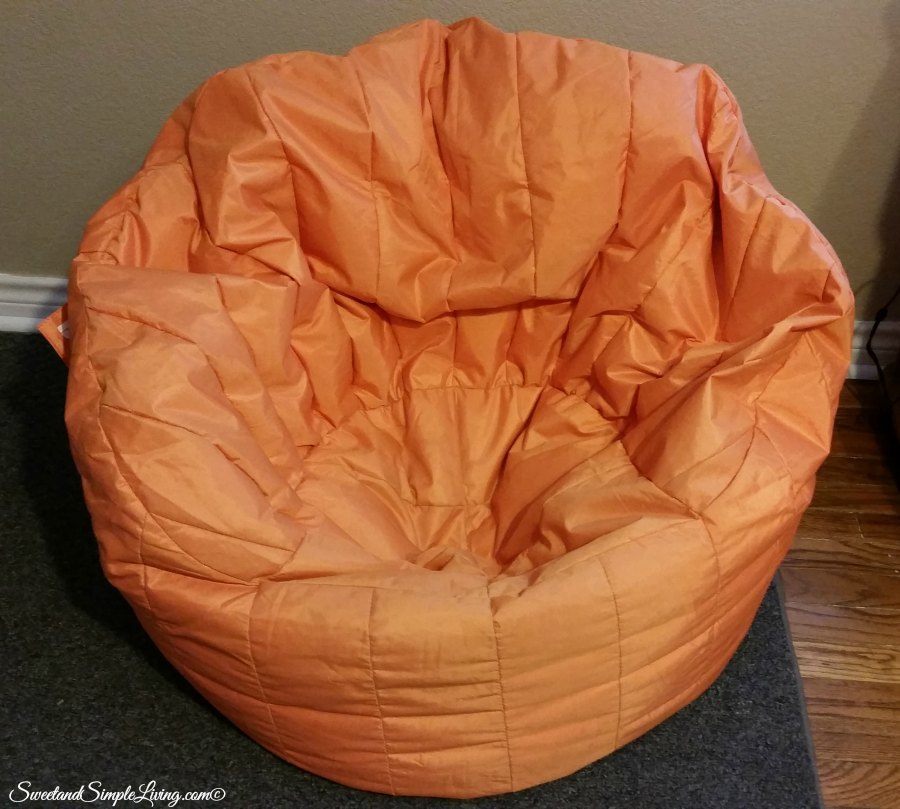
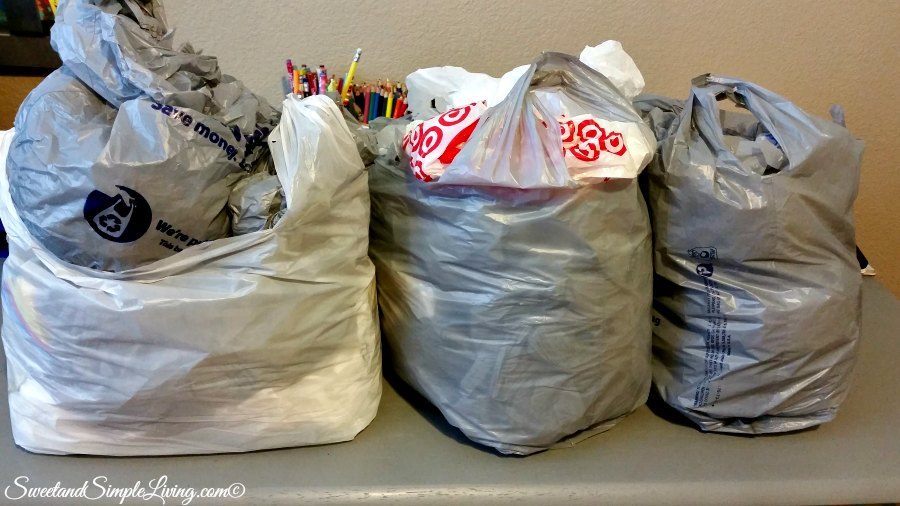
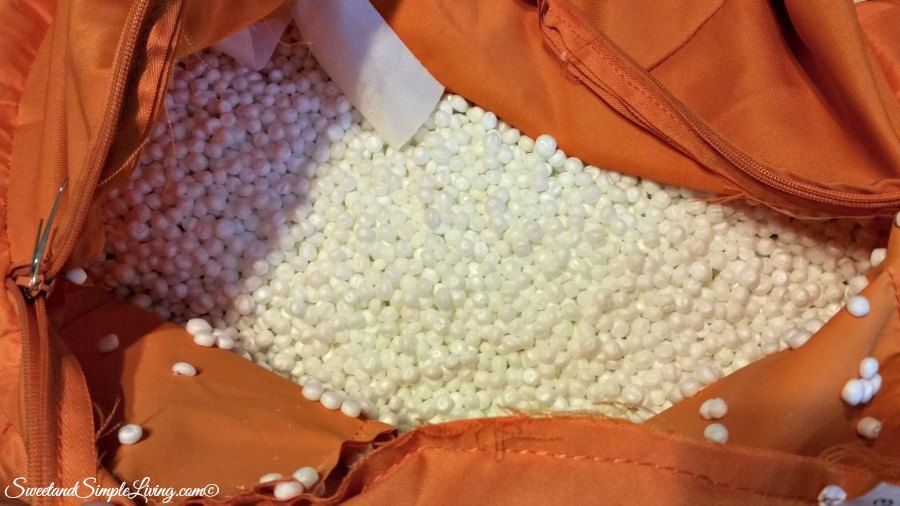
Don’t let the picture fool you! It may still look fluffy and comfortable on the bottom, but it’s not! There’s a big gap in the middle. Now, you can buy a bag of re-fill and simply add more of those beads. You can order it online and have it come straight to the house. But then I have to pay for shipping and what do I do in a couple of months if the new filling breaks down too?? I know this is an easier option, but I wanted to try something else. I had an idea!! You know those plastic shopping bags from the grocery store? I started saving them every time I bought groceries and that was going to be my new filling. Now let me be specific on this, any grocery bags that had cold stuff, milk or meat in them I did not save. I only kept the bags that had dry foods in them. It took us some time, but fairly quickly we had a little stock pile of them!
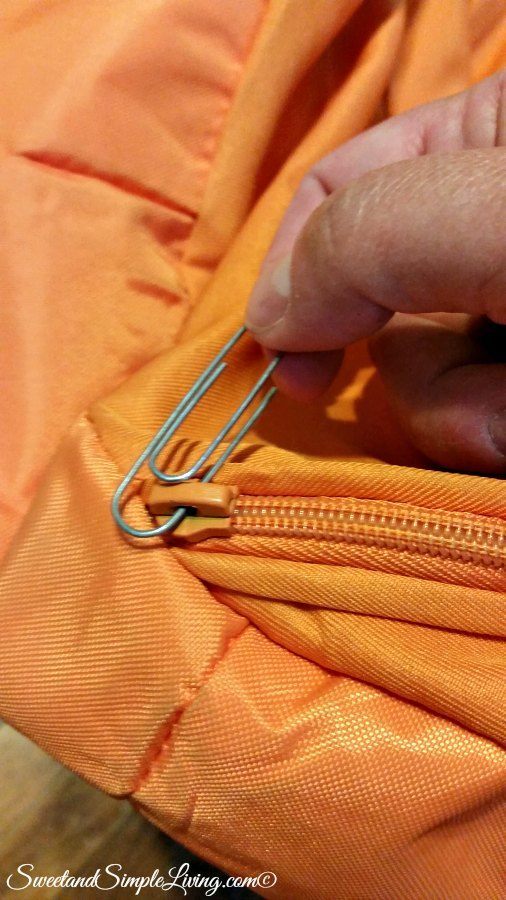
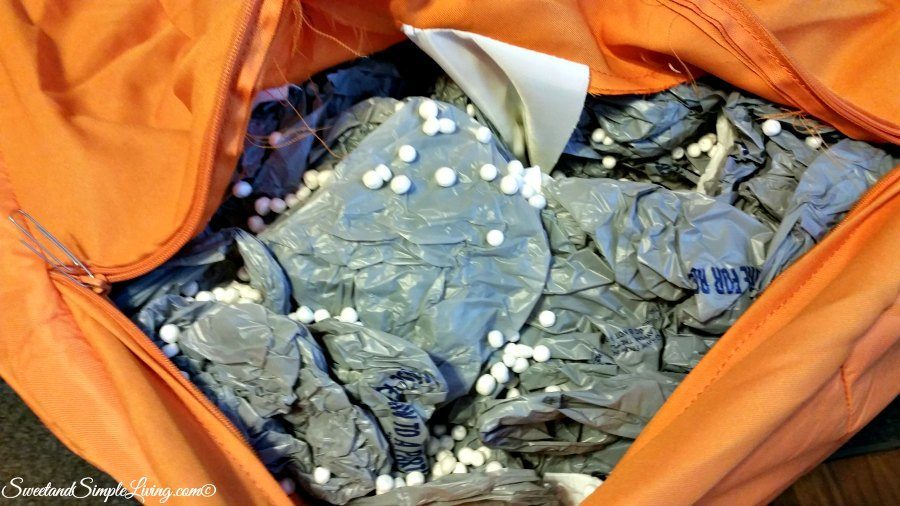
I got a little bit ahead of myself when we did this project and started working on one bag before I took pictures. So these bags are just for one chair. I had another pile of bags that I had already put in another chair. Before you open up your bean bag, turn it upside down and shake the filling away from the zipper. Ours has a double zipper and I found a little trick to making it easier to open. Take a paperclip and slide one of the ends into the hole on the zipper slider. This will give you a little handle to open it up.
Once you open up the bag, this is what it will look like. These are those little Styrofoam balls. Be careful not to spill them, they will stick to you and anything else. We had a great little experience when my daughter stuck her hand all the way in the bean bag!
Now just add your bags! We did ours one by one and crunched the bags up into a ball. Then just stuff it into the bag. As you add more bags, just push them further down. The kids helped with this part and it didn’t take long at all. This is what the inside will look like now!
All you need to do now is zip the bean bag back up, fluff it up a bit and enjoy your latest project! If you are dealing with this same issue, now you can do this DIY Bring a Bean Bag Back to Life project! Be sure to take a look at all of our other crafts HERE!


Thank you for this idea! Just what I was looking for!
have you tried using stuffing from inside old pillows? i have so many old pillows – hoping i can “recycle” them to be stuffing for my kids’ Big Joe bean bag chair.
That sounds like a great idea too!
This looks like and easy and cheap fix. How long does it last? I have bean bags in my classroom and they look worse than this.
I’ve just kept adding bags as I get a pile of them saved up. So fAR it has worked great for us.
Do the bags eventually go flat also like the styrofoam beans? If so, how long did it last using the bags. Thanks!
I just keep adding more bags as I get another pile of them. So far, no problems.
How has this held up? I have 5 Big Joe beanbags that need refilling.
It works great. I started stuffing them down in there as far as I could and my kids use them all the time.
Great idea! I almost got rid of all of those bags that I have accumulated over the past few years! Thank you!
Thank you so much! I wondered if this would work. I’m a mother of 5 so we save alot of these after our big grocery day shopping days. Our chair is as flat as a pancake. Purchased it just a couple of weeks ago. Cant wait to get started on this. 🙂 Thanks! *@ngie*
You don’t remove the filling first?
No. Keep it on there and just keep adding bags as needed or when you have a big pile of them.
Thanks for the tip! I am totally doing this today.
Is the chair noisy when you sit in it with all the bags inside?
Nope! It sounds just like it always did.
i sewed two done car seat covers together and filled them with everything. like i just started to find things that could be added. yes plastic bags, foam i found “clean” empty stuff that would not be sharp-cardboard, styrafom etc…lint from dryer, done with cloth etc…i have a “bean” bag now i love and keep a pillow-filler bag for things i find that would work as filler. so much breaks down yet as new stuff is added the bag is great with some umph