Felt Flower Tutorial
Felt Flower Tutorial
Who wants a felt flower tutorial??!! Felt flowers are super easy to make and very inexpensive. Crafty fun for young and young at heart. The other day we were brain storming a way to store and display Rainbow Loom Bracelets. We came up with a great display board you can see here. But it needed a little something. Felt flowers were just the thing to brighten up our Rainbow Loom Display Board.
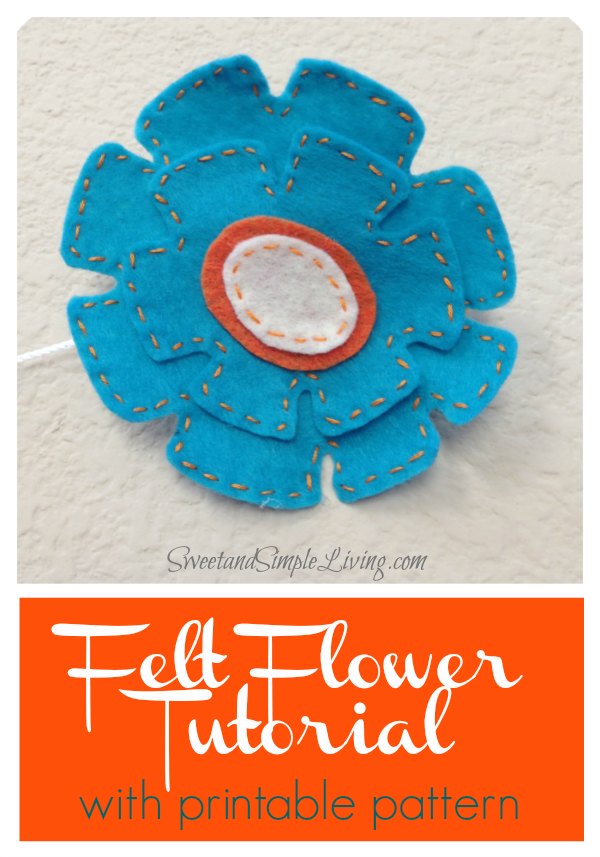
Now I’ll share with you how to make these flowers in today’s felt flower tutorial.
Here’s what you’ll need:
- Felt in colors of your choice, we used three colors
- Scissors
- Marker for tracing
- Needle
- Coordinating Embroidery Floss
- Glue Gun
- Printable Flower Template
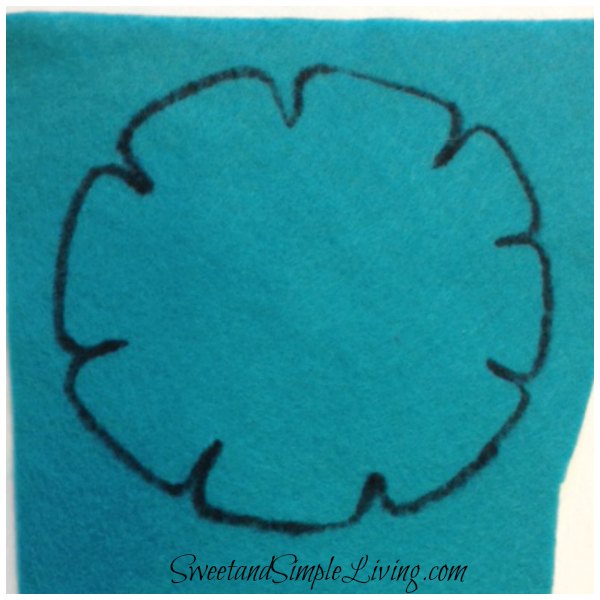
Begin by printing the flower template. Cut out the template pieces and trace onto the felt colors of your choice. When you cut the flowers from the felt be sure to cut on the inside of the tracing lines. Otherwise you’ll end up with a roundish blob instead of a flower with petals.
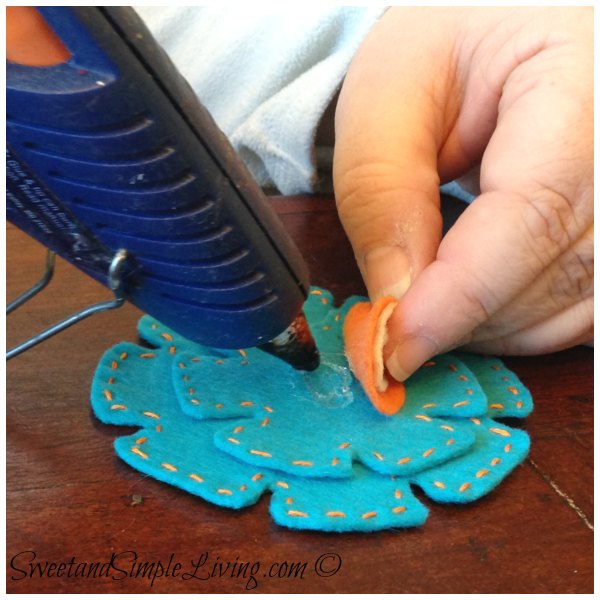
If you choose, add stitching to the edges using embroidery floss. I used two or three of the six strands, depending on what came apart the easiest.
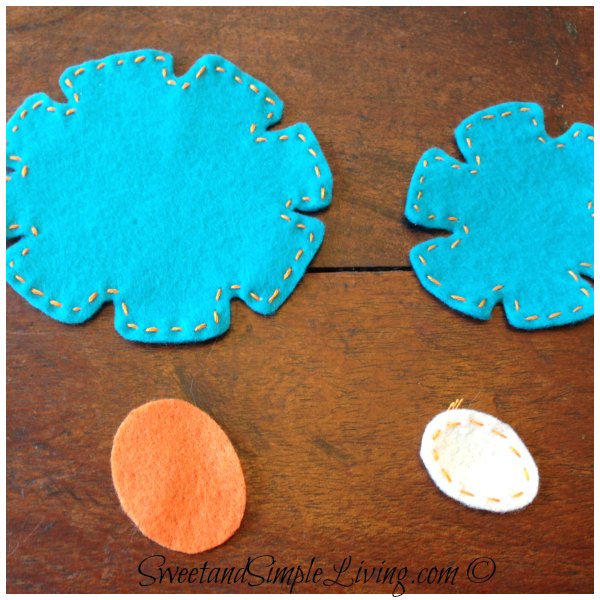
Then just hot glue the layers together.
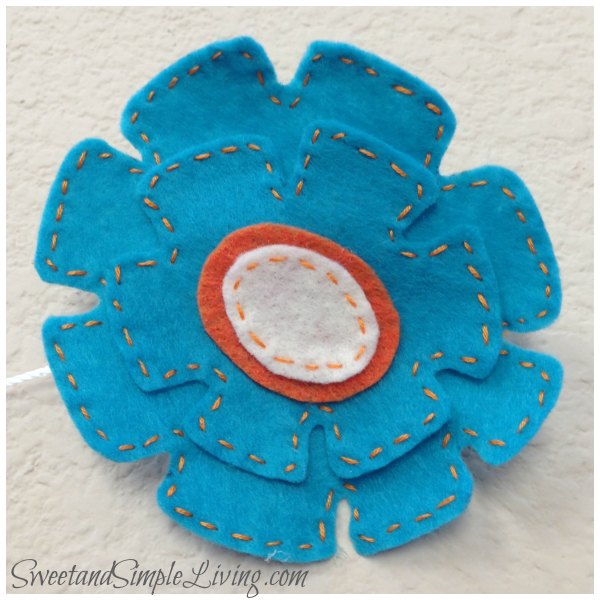
Your flower is now ready to adorn just about anything. Great on headbands, barrettes, frames, hats and scarves.
What will you put your felt flowers on?
Click +1 Below